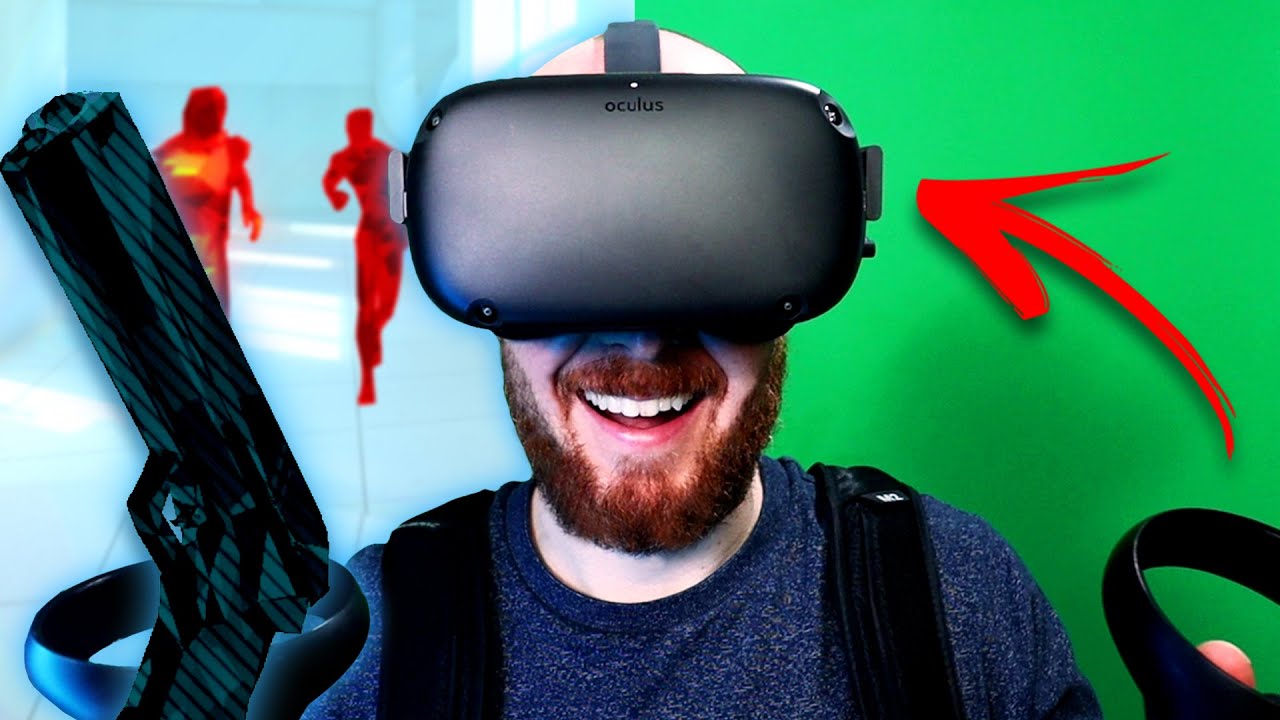
Welcome to the world of mixed reality gaming with the Oculus Quest! In this guide, I will show you how to capture mixed reality gameplay footage with your Oculus Quest headset. Mixed reality capture is an impressive feature that allows content creators and developers to showcase the immersive experience of virtual reality to their audience. By the end of this guide, you will have the knowledge to capture mixed reality footage for yourself. So, let’s dive in!
Contents
Required Equipment and Software
Before we get started, there are a few things you will need for this to work:
- A modern gaming PC with decent specifications.
- A webcam or a camera (such as a GoPro or DSLR) connected to a capture card.
- A green screen or the option to use an iPhone and an app called “Live” (more on that later).
- A 5GHz Wi-Fi router.
- Blue tack or a piece of tape.
- A mixed reality supported game.
In addition to the hardware, you will need to download the following free software:
- OBS (Open Broadcaster Software): This is the software we will use to record the mixed reality gameplay.
- Oculus MR.C Tools: This is the mixed reality capture tool provided by Oculus.
You can find the download links for these applications in the description below.
Preparing for Capture
Before we start the actual capture process, there are a few things we need to do to get everything ready:
- Ensure that your Oculus Quest headset is fully charged.
- Place a piece of blue tack or tape over the proximity sensor inside the headset. This will ensure that the headset keeps running even when you take it off during calibration.
- Set up your camera to face the green screen area and ensure that it is adequately lit. Try to fit your whole body within the camera’s view for the best mixed reality footage.
It’s also important to position your camera correctly, as any movement later on will require recalibration. For optimal results, set your camera to output video at 1080p and 60 frames per second. If you’re using a GoPro, set it to linear mode.
Make sure your PC and Oculus Quest are connected to the same 5GHz Wi-Fi network.
Installing the Required Software
Now that we have everything set up, let’s install the required software:
-
Start by double-clicking on the OBS installer that you downloaded. OBS stands for Open Broadcaster Software, and this is the software we will use to record the mixed reality gameplay from your Oculus Quest.
-
Next, unzip the Oculus MR.C Tools file you downloaded and install the Oculus MRC software. This can be installed on both Windows and Mac.
Oculus Quest Calibration
To capture mixed reality footage, we need to calibrate the Oculus Quest and the controllers with the camera. Follow these steps:
-
Launch the Oculus MR.C Tools application and click on “Get Started”. Select “Oculus Quest” from the options and click “Continue”.
-
To complete the calibration process, we need to install the MRC app on the Oculus Quest headset. Click on the provided link within the desktop application, which will take you to the Oculus website. Log in to your Oculus account and add the Oculus Quest MRC Tools application to your library.
-
Put on your Oculus Quest headset and go to the “Uninstalled Apps” section in your library. You should see the MRC app available for download. Make sure to update the app if required and launch it.
-
In the MRC app on your Oculus Quest, you will see the IP address of your headset displayed on a gray screen. Take note of this IP address.
-
Go back to your PC and click on “Search for Device” in the Oculus MR.C Tools application. Your Oculus Quest headset should be automatically detected. If not, manually enter the IP address you noted earlier.
-
Now, we need to calibrate the camera, the Oculus Quest, and the controllers to ensure they are correctly aligned in the mixed reality footage. Click on “Create New Calibration” and select the camera you will be using for calibration.
-
Follow the on-screen instructions to align the blue icons on the screen with your Oculus Touch controllers. If an icon turns yellow, it means the controller is not visible to the Oculus Quest’s tracking sensors. Keep the controllers within view of the headset’s sensors as best as you can. Press the trigger button to align each controller with the overlay.
-
Once you have aligned all the controller positions, the calibration process is complete. You can fine-tune the alignment by adjusting the sliders or using the controller inputs. If needed, save the calibration for future use.
Setting Up OBS
Now that everything is calibrated, let’s set up OBS for capturing the mixed reality footage:
-
Install the MRC OBS plugin by clicking on the provided link within the Oculus MR.C Tools application. The plugin should install automatically.
-
Generate the OBS scene collection by clicking on “Generate OBS Scene Collection”. Save the scene in a location you will remember.
-
Open OBS and click on “Scene Collection” at the top of the application. Click on “Import” and select the scene collection file you just saved. Your OBS scene should now include the mixed reality capture settings.
-
Double-click on the “Video Capture Device” in OBS and ensure the correct camera source is selected. Right-click on the video capture device and click on “Filters”. Add a chroma key filter to key out the green screen. Fine-tune the filter to get rid of any rough edges or artifacts.
-
Crop the camera view to exclude any areas not covered by the green screen. Hold the Alt button on your keyboard and drag the left and right edges with your mouse. Be mindful of the camera’s field of view to avoid clipping the edges during gameplay.
-
Run the MRC application on your Oculus Quest again and go back to the OBS scene. Double-click on the “Oculus MRC Source” and click on “Connect to MRC Enabled Game Running on Quest”. You should see your game and video feed in OBS.
-
If necessary, add a render delay to the video stream to sync the video with the gameplay. This can be done by right-clicking on the video capture device, clicking on “Filters”, and adding a render delay.
Fine-Tuning and Recording Gameplay
With everything set up, it’s time to fine-tune the settings and start recording your mixed reality gameplay:
-
Check the footage to ensure the video feed is aligned correctly with the gameplay. If the video feed appears out of sync or laggy, you can add a delay by right-clicking on the video capture device, clicking on “Filters”, and adding a render delay.
-
Launch a compatible Oculus Quest game in your headset. Double-click on the “Oculus MRC Source” in OBS and click on “Connect to MRC Enabled Game Running on Quest”. You should see the game in OBS along with your video feed.
-
If desired, you can rotate your play space by pressing and holding the Oculus Home button on your Touch controller in the direction you want to face. This allows you to capture gameplay footage from different angles.
-
Adjust the settings as needed to optimize the mixed reality footage quality. Remember that if you move your camera, you will need to go through the calibration process again. It’s recommended to save your calibration files to easily refresh the scenes in OBS.
Additional Tips
- Some games, like Space Pirate Trainer and Superhot, may work well without any additional settings. However, for games like Beat Saber, make sure to enable mixed reality capture in the game’s menu.
- Wearing dark clothing in the video stream can help you stand out from the gameplay and prevent color bleed from the green screen.
- Additional lighting on the subject (you) can enhance the mixed reality footage quality.
- Note that this method does not capture the audio from the Oculus Quest. You will need to find creative solutions to record the gameplay audio separately.
FAQs
Q: Can I capture mixed reality footage without a green screen and a camera?
A: Yes, it is possible to use an iPhone and an app called “Live” to capture mixed reality footage without a green screen and a camera. However, this method requires some setup and configuration.
Q: How do I record the gameplay audio for mixed reality footage?
A: To capture the gameplay audio, you can use an external recording device connected to the 3.5mm output on the Oculus Quest headset.
Q: Can I use other capture software instead of OBS for mixed reality capture?
A: While we recommend using OBS for its ease of use and compatibility, you can explore other capture software options that support mixed reality capture.
Q: Which games support mixed reality capture on the Oculus Quest?
A: The list of supported games can be found on the Oculus website. Note that not all Oculus Quest games support mixed reality capture, and some may require additional settings within the game.
Conclusion
Capturing mixed reality gameplay footage with the Oculus Quest may require some time and adjustments, but the end result is worth the effort. It’s an impressive feature that allows content creators and developers to showcase the immersive experience of virtual reality. Though not all games support mixed reality capture, the ones that do can provide stunning footage to engage your audience. Keep exploring and experimenting with mixed reality capture, and you’ll discover new creative possibilities in the world of VR. Enjoy your mixed reality adventures!
For more insightful guides and exciting technology news, visit Techal.
