Hello everyone! Welcome to another lab session where we will be using Packet Tracer to explore various networking concepts. In this fourth installment of our lab series, we will focus on DHCP, VLANs, EtherChannel, switching, and routing. The goal is to configure and validate different network configurations and gain a deeper understanding of how devices operate. We will also explore the distinctions between a device’s configuration and its actual operation.
Contents
Lab Overview
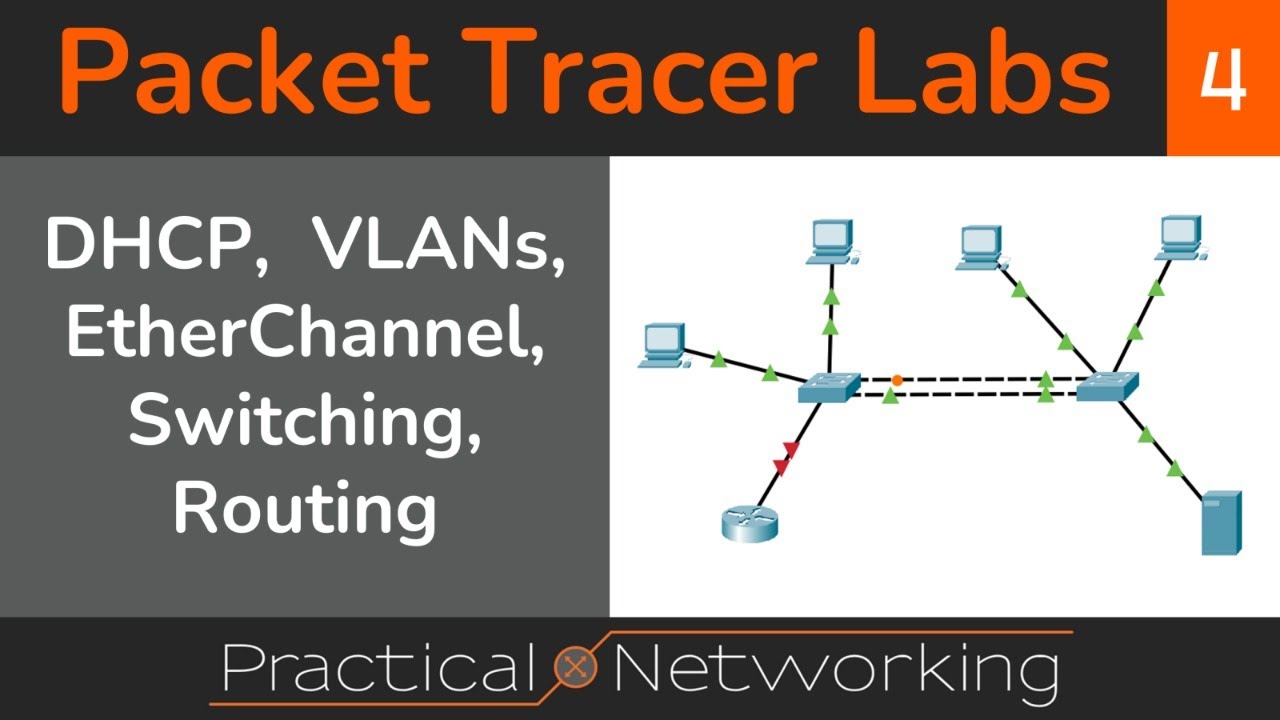
For this lab, we will be working with Keith Barker’s Packet Tracer labs. Keith Barker provides excellent resources for studying CCNA, and we highly recommend checking out his website at keithbarker.com. In the lab, we will be working with a network topology that consists of two Layer 2 switches, two PCs, and a router. Our objectives will include configuring VLANs, setting up DHCP, enabling EtherChannel, and testing connectivity between the PCs and the web server.

Setting up the Lab
To get started, download the lab files from Keith Barker’s website. Extract the files and open the Packet Tracer file (.pkt) in Packet Tracer. Make sure you are using the latest version of Packet Tracer to ensure compatibility with the lab.
Configuring the Switches
We will begin by configuring the switches. Open the CLI for each switch and disable IP domain lookup. This will prevent the switch from trying to look up mistyped commands in DNS.
switch1> enable
switch1# configure terminal
switch1(config)# no ip domain lookup
Next, enable rapid spanning tree mode and configure all access ports as PortFast by default. Enabling PortFast allows the access ports to come up instantly when a device is connected, without going through the listening and learning states.
switch1(config)# spanning-tree mode rapid-pvst
switch1(config)# spanning-tree portfast default
Now, we need to configure VLANs 50, 60, and 70 on both switches.
switch1(config)# vlan 50
switch1(config-vlan)# name VLAN50
switch1(config-vlan)# exit

switch1(config)# vlan 60
switch1(config-vlan)# name VLAN60
switch1(config-vlan)# exit

switch1(config)# vlan 70
switch1(config-vlan)# name VLAN70
switch1(config-vlan)# exit
After configuring the VLANs, we need to assign the appropriate ports to each VLAN. Refer to the lab instructions to identify which ports belong to each VLAN. Use the following commands to configure the ports accordingly:
switch1(config)# interface FastEthernet0/1
switch1(config-if)# switchport mode access
switch1(config-if)# switchport access vlan 50

switch1(config)# interface FastEthernet0/2
switch1(config-if)# switchport mode access
switch1(config-if)# switchport access vlan 50

switch1(config)# interface FastEthernet0/3
switch1(config-if)# switchport mode access
switch1(config-if)# switchport access vlan 60

switch1(config)# interface FastEthernet0/4
switch1(config-if)# switchport mode access
switch1(config-if)# switchport access vlan 60

switch1(config)# interface FastEthernet0/5
switch1(config-if)# switchport mode access
switch1(config-if)# switchport access vlan 70
Repeat the same configuration on switch2. Make sure to assign the appropriate VLANs to the corresponding ports.
Configuring the Router
Next, let’s configure the router. Access the router CLI and enable the GigabitEthernet0/0 interface.
router> enable
router# configure terminal
router(config)# interface GigabitEthernet0/0
router(config-if)# no shutdown
Now, we need to configure sub-interfaces in the router for each VLAN. We will use router-on-a-stick (ROAS) to enable inter-VLAN routing. ROAS allows a single physical interface to act as multiple logical interfaces by using sub-interfaces.
Configure the sub-interfaces and set the encapsulation type to 802.1Q for each VLAN:
router(config)# interface GigabitEthernet0/0.50
router(config-subif)# encapsulation dot1Q 50
router(config-subif)# ip address 10.67.83.1 255.255.255.240

router(config)# interface GigabitEthernet0/0.60
router(config-subif)# encapsulation dot1Q 60
router(config-subif)# ip address 10.67.83.17 255.255.255.240

router(config)# interface GigabitEthernet0/0.70
router(config-subif)# encapsulation dot1Q 70
router(config-subif)# ip address 10.67.83.33 255.255.255.240
At this point, the router is configured to route traffic between the VLANs. We can test connectivity by pinging various devices from the router’s perspective.
router# ping 10.67.83.46
router# ping 10.67.83.18
router# ping 10.67.83.19
router# ping 10.67.83.2
router# ping 10.67.83.3
If the pings are successful, it confirms that routing is functioning correctly.
Configuring DHCP
Now let’s configure DHCP for VLANs 50 and 60. We will set up a DHCP pool on the router for each VLAN.
router(config)# ip dhcp pool VLAN50
router(dhcp-config)# network 10.67.83.0 255.255.255.240
router(dhcp-config)# default-router 10.67.83.1
router(dhcp-config)# dns-server 10.67.83.46
router(dhcp-config)# exit

router(config)# ip dhcp pool VLAN60
router(dhcp-config)# network 10.67.83.16 255.255.255.240
router(dhcp-config)# default-router 10.67.83.1
router(dhcp-config)# dns-server 10.67.83.46
router(dhcp-config)# exit
Lastly, we need to enable DHCP relay to allow DHCP requests to reach the DHCP server. Configure the router interfaces connected to the client networks as DHCP relay agents:
router(config)# interface GigabitEthernet0/0.50
router(config-subif)# ip helper-address 10.67.83.46

router(config)# interface GigabitEthernet0/0.60
router(config-subif)# ip helper-address 10.67.83.46
With DHCP relay set up, the PCs in VLANs 50 and 60 will be able to acquire IP addresses from the DHCP server, which is in VLAN 70.
Conclusion & Next Steps
Congratulations on completing this lab! You have successfully configured VLANs, DHCP, and routing on your network. You also learned how to troubleshoot connectivity issues and validate your configurations.
Next week, we will have an exciting lab challenge where you will need to trace and shut down specific ports in a network. Stay tuned for the release of the lab and join us then for another engaging session!
If you have any questions or need further assistance, feel free to reach out in the comments or join our Discord community. We are here to help you on your networking journey.
Thank you for joining us today, and happy networking!
