Welcome to the Oasis! Today, we’ll be diving into how to record your Oculus Go gameplay footage and capture audio from the device. While the Oculus Go is a fantastic headset, recording content with it can be a bit of a pain. In this guide, we’ll walk you through the step-by-step process of recording, syncing audio, and creating a captivating gameplay video. So, let’s get started!
Contents
What You’ll Need
Before we begin, let’s gather the necessary equipment for recording on the Oculus Go. You’ll need:
- A long audio cable with 3.5mm jacks at both ends.
- A 3.5mm splitter to separate the audio from the Oculus Go headset.
- A pair of headphones (any will do, but the HyperX Cloud 2 headphones are highly recommended).
- A recording device, such as a PC or an audio recorder (the Zoom H1 is a great option).
Capturing Audio
To capture the audio from your Oculus Go, follow these steps:
- Connect the long audio cable to the audio output on your Oculus Go headset.
- Connect your headphones to one of the outputs on the splitter. This will allow you to listen to the game audio while recording.
- Connect the other output of the splitter to your PC or recording device using the long audio cable.
If you’re using a PC, plug the long audio cable into your motherboard’s line-in port. Then, use software like Audacity or OBS to record the gameplay audio directly. If you’re using an audio recorder, connect the long audio cable to its line-in port for direct audio recording.
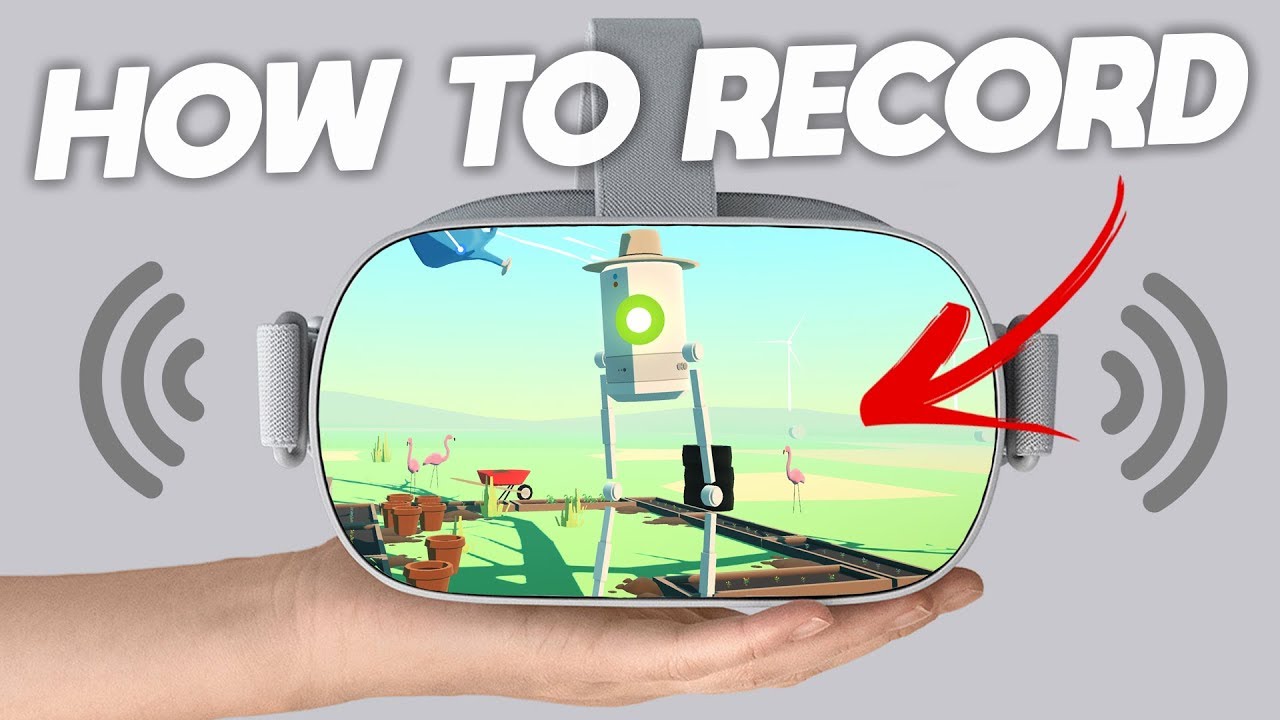
Recording Gameplay Footage
Now, let’s cover how to record your gameplay footage on the Oculus Go:
- On your Oculus Go, go to the menu at the bottom of the home dashboard.
- Navigate to “Sharing” and select “Record Video.”
- A red recording icon will appear in your field of vision. This icon indicates that you are now recording your gameplay footage.
- Launch the game or app you want to record and wait for it to fully load.
- Press the back button on your Oculus Go controller and select “Record Video” to start recording.
- The red recording icon will remain visible throughout your recording session.
- To stop recording, press the back button or exit the game or app.
Remember to press the stop button once you’ve finished recording. Save both your gameplay footage and audio to a designated location on your PC.
Transferring Video Files to Your PC
To transfer the recorded video files from your Oculus Go to your PC, follow these steps:
- Connect your Oculus Go to your PC using a microUSB cable.
- Put on your headset and grant access to data when the access prompt appears.
- On your desktop, click on the VR headset icon and select “Internal Shared Storage.”
- Navigate to “Oculus” and then “Video Shots.” This is where your recorded video clips are stored.
- Copy the video files to a secure location on your desktop for later use.
Syncing Audio with Gameplay Footage
To sync the audio with your gameplay footage, you’ll need video editing software such as Adobe Premiere. Here’s how to do it:
- Open your preferred editing software and import the recorded video footage.
- Identify a specific action, like pressing a button in the menu, in both your video footage and audio recording.
- Align the action in the video footage with the corresponding audio.
- If synced correctly, your head movements and gameplay audio will be in perfect harmony with the video footage.
- Edit the footage as desired to create a polished gameplay video.
FAQs
Q: Should Oculus have included this recording feature from the beginning?
A: Personal opinions may vary, but many believe Oculus should have enabled audio and video recording, as well as streaming capabilities, right from the start. This would have allowed content creators to showcase the Oculus Go’s games and experiences to a wider audience.
Conclusion
Now that you know how to record your Oculus Go gameplay footage and capture audio, you’re ready to share your gaming experiences with the world. Remember to have fun and get creative with your editing! If you have any questions or encounter any issues, feel free to reach out in the comments below. Happy recording!
