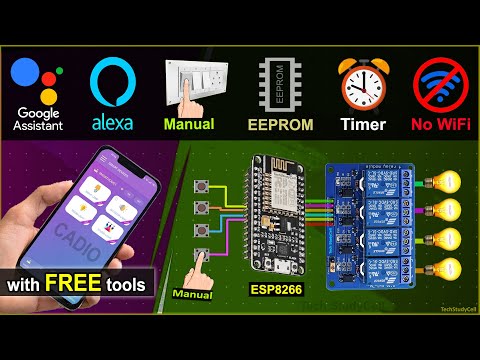
Are you ready to take control of your home appliances using IoT technology? In this article, we will explore how to create a simple yet powerful IoT-based home automation project using the ESP8266 and Cadio. With this project, you can control your appliances with ease, whether it’s through Cadio, Google Assistant, or Amazon Alexa. What’s even better is that you can still control your appliances manually with switches, even without internet connectivity. Let’s dive into the details and see how this project works.

Contents
Connecting ESP8266 with Wi-Fi
To begin with, you’ll need an ESP8266, a relay module, and switches. Follow the circuit diagram to connect these components. You’ll notice that the circuit is straightforward, with a 5-volt DC supply and the switches connected to GPIO pins and the ground pin. If you’re using latched switches, make sure to turn off switch-2 during the booting process of the NodeMCU to avoid any booting failures. However, if you’re using push buttons, there are no such limitations.

Creating a Compact PCB
While you can create this circuit without using a PCB, it’s best to utilize one to ensure a secure and compact setup. You can design your PCB and order it from JLCPCB, a reliable and affordable PCB manufacturing service. They offer high-quality PCBs at a reasonable price. Once you receive your PCB, you’ll notice the premium quality and durability it offers. If you’re interested in ordering from JLCPCB, you can find a link in the description.
Uploading Firmware to ESP8266
Connect your ESP8266 to your laptop and upload the firmware. Download the Cadio firmware from the provided link. You’ll also need the ESP Flash download tool. Open the Flash download tool, select the Chiptype ESP8266, and erase the current firmware. Select the firmware file you just downloaded and start the upload process. It may take a few moments, but once it’s finished, the firmware will be successfully uploaded to the ESP8266.
Configuring ESP8266 with Cadio App
Download the Cadio app from the Google Play Store or App Store. Put the ESP8266 in config mode by pressing the reset button until the LEDs start blinking. Turn off mobile data and connect to the hotspot created by the ESP8266. Open the Cadio app, go to config mode, and select the configuration option. Here, you can configure the ESP8266 according to your circuit setup. Be sure to map the GPIO pins for the relays and switches. Save the configuration, enter your Wi-Fi details, and wait for your device to appear on the dashboard.
Integrating with Google Assistant and Amazon Alexa
To control your home automation system using Google Assistant and Amazon Alexa, follow these steps. Open the Google Home app and set up the Cadio connection. Enable the Cadio Smart Home skill in the Amazon Alexa app. Log into your Cadio account and connect your devices. Once connected, you’ll be able to control your appliances through voice commands using Google Assistant and Amazon Alexa.
FAQs
Q: Can I control my appliances manually with switches?
A: Yes, even without internet connectivity, you can control your appliances manually using the switches.
Q: What if I want to change my Wi-Fi details in the future?
A: Simply connect a push button across the D8 and 3.3-volt pins and press the RST push button for three to five seconds. The config LED will blink, indicating config mode. You can then update the Wi-Fi credentials and save them.
Conclusion
With the IoT-based ESP8266 home automation project, you can control your appliances effortlessly through Cadio, Google Assistant, or Amazon Alexa. Whether you prefer voice commands or manual control, this project offers convenience and flexibility. Get started today and simplify your life with IoT technology!
For more technology-related content, visit Techal.