Have you ever wondered how the gradient descent algorithm works in machine learning? In this article, we will implement the gradient descent algorithm from scratch in Python and gain an intuitive as well as a mathematical understanding of what is actually happening. We will use only two external Python packages: numpy for working with arrays and matplotlib for visualizing the process. So, let’s dive right in!
Contents
Understanding Gradient Descent
Gradient descent is an optimization algorithm commonly used in machine learning to find the local minimum of a function. To put it simply, it helps us adjust the weights and biases of a neural network to minimize the cost function.
Imagine a function represented on a coordinate system, where the x-axis represents the weights and biases and the y-axis represents the cost. The goal is to find the lowest point on this function to minimize the cost. In gradient descent, we start with a certain position on the function and iteratively adjust the weights and biases to decrease the cost.
Implementing Gradient Descent in Two Dimensions
To implement gradient descent, we first need to compute the derivative of the given function, which represents the direction of steepest descent. We then adjust the weights and biases by taking small steps in the opposite direction of the derivative, multiplied by a learning rate.
Let’s take a look at the code for implementing gradient descent in two dimensions using Python:
import numpy as np
import matplotlib.pyplot as plt

# Define the function
def y_function(x):
    return x**2

# Compute the derivative
def y_derivative(x):
    return 2*x

# Generate values for X and Y
X = np.arange(-100, 100, 0.1)
Y = y_function(X)

# Set the starting position
current_position = [50, y_function(50)]

# Set the learning rate
learning_rate = 0.01

# Perform gradient descent for a certain number of iterations
for _ in range(1000):
    # Plot the function
    plt.plot(X, Y)

    # Plot the current position
    plt.scatter(current_position[0], current_position[1], color='red')

    # Compute the new position using gradient descent
    new_x = current_position[0] - learning_rate * y_derivative(current_position[0])
    new_y = y_function(new_x)

    # Update the current position
    current_position = [new_x, new_y]

    # Pause the animation
    plt.pause(0.001)

    # Clear the figure
    plt.clf()

# Show the final result
plt.show()
In this code, we define the function y_function(x) and its derivative y_derivative(x). We generate a range of values for X and compute the corresponding Y values using the function. Next, we set the starting position, learning rate, and iterate through a certain number of iterations.
During each iteration, we plot the function, plot the current position, compute the new position using gradient descent, update the current position, pause the animation, and clear the figure. Finally, we show the final result.
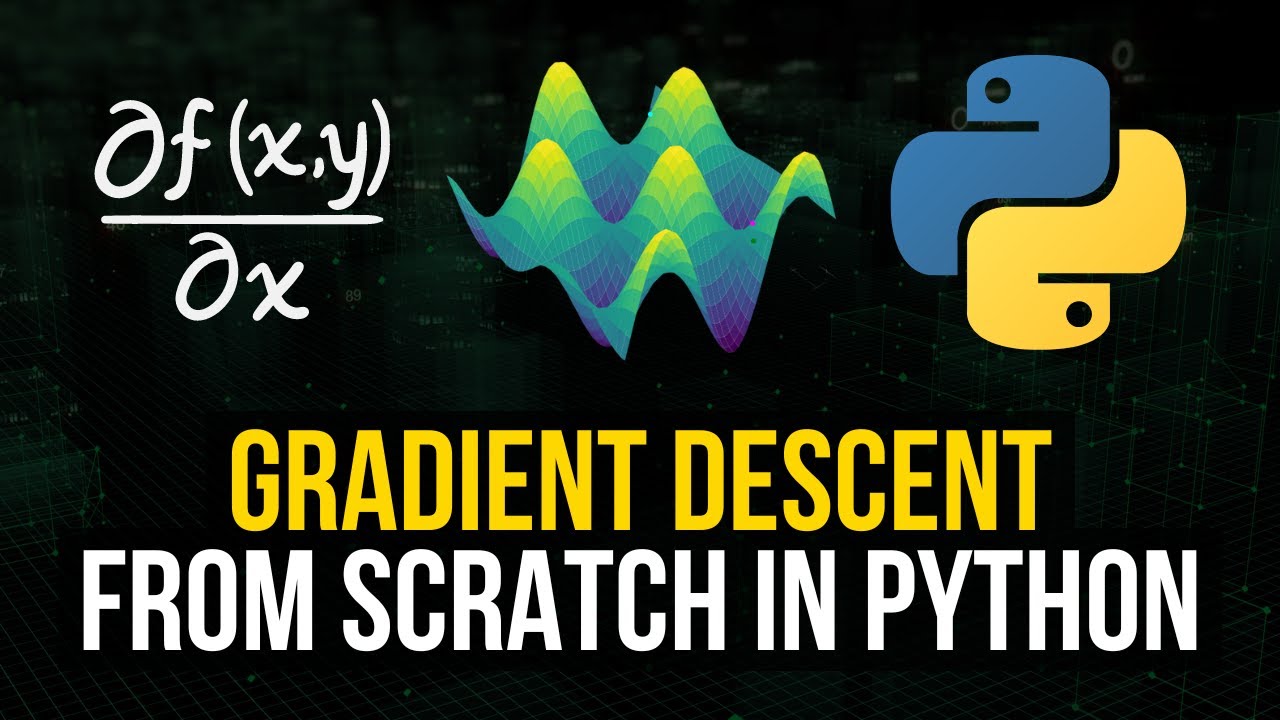
Implementing Gradient Descent in Three Dimensions
To visualize gradient descent in three dimensions, we can use a more complex function. Let’s take the numpy.sin() function as an example:
import numpy as np
import matplotlib.pyplot as plt

# Define the function
def z_function(x, y):
    return np.sin(5 * x) * np.cos(5 * y) / 5

# Compute the gradient
def calculate_gradient(x, y):
    dx = np.cos(5 * x) * np.cos(5 * y)
    dy = -np.sin(5 * x) * np.sin(5 * y)
    return [dx, dy]

# Generate values for X and Y
X = np.arange(-1, 1, 0.05)
Y = np.arange(-1, 1, 0.05)
X, Y = np.meshgrid(X, Y)
Z = z_function(X, Y)

# Set the starting position
current_position = [0.7, 0.4, z_function(0.7, 0.4)]

# Set the learning rate
learning_rate = 0.01

# Perform gradient descent for a certain number of iterations
for _ in range(1000):
    # Plot the function
    ax = plt.subplot(111, projection='3d')
    ax.plot_surface(X, Y, Z, cmap='viridis')

    # Plot the current position
    ax.scatter(current_position[0], current_position[1], current_position[2], color='magenta')

    # Compute the gradient
    x_derivative, y_derivative = calculate_gradient(current_position[0], current_position[1])

    # Compute the new position using gradient descent
    new_x = current_position[0] - learning_rate * x_derivative
    new_y = current_position[1] - learning_rate * y_derivative
    new_z = z_function(new_x, new_y)

    # Update the current position
    current_position = [new_x, new_y, new_z]

    # Pause the animation
    plt.pause(0.001)

    # Clear the axis
    ax.cla()

# Show the final result
plt.show()
In this code, we define the function z_function(x, y) and its gradient calculate_gradient(x, y). We generate a mesh grid for X, Y, and Z and set the starting position and learning rate. We then iterate through a certain number of iterations and perform gradient descent.
During each iteration, we plot the function, plot the current position, compute the gradient, compute the new position using gradient descent, update the current position, pause the animation, and clear the axis. Finally, we show the final result.
Conclusion
In this article, we have implemented the gradient descent algorithm from scratch in Python. We started with a simple two-dimensional example and then moved on to a more complex three-dimensional example. By visualizing the process, we gained an intuitive understanding of how gradient descent works. Feel free to experiment with different functions and parameters to deepen your understanding of this powerful optimization algorithm.
For more informative articles and comprehensive guides on the world of technology, visit Techal. Stay tuned for more exciting content!