Are you looking to automate your home and control your appliances with ease? Look no further than this comprehensive guide on home automation using Tasmota and ESP32. In this project, we will show you how to control eight appliances using Alexa voice commands and manual switches, all without any coding knowledge. Let’s get started!
Contents
Introduction
Imagine being able to turn on your outdoor lights or studio lights with a simple voice command. With Tasmota and ESP32, you can do just that. This home automation project allows you to control your appliances using Amazon Alexa and manual switches, giving you ultimate convenience and control. Whether you’re tech-savvy or a beginner, this project can be completed in just 5 minutes.

Setting up the Project
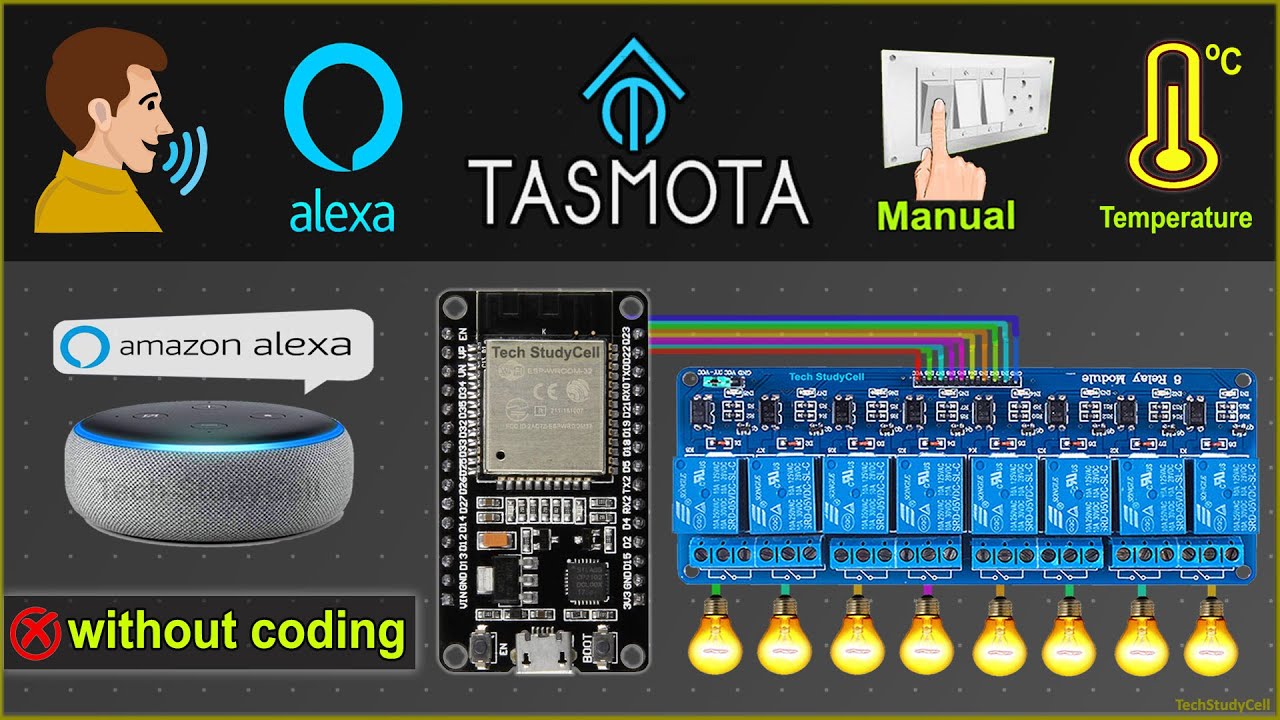
To complete this project, you’ll need an ESP32, an 8-channel relay module, and a DHT11 sensor. Optionally, you can also use a push button for manual control and an ECHO DOT or any other Alexa device for voice control.
Follow the circuit diagram provided to connect all the components. The ESP32, DHT11 sensor, and relay module require a 5V power supply. Connect the push buttons or switches to the GPIO pins and ground pins as shown in the circuit diagram.
Flashing Tasmota Firmware
To enable the ESP32 to communicate with Tasmota, you’ll need to flash the firmware onto the device. Visit the provided link to download the Tasmota firmware and flashing tool. Download the appropriate tool for your system.
Once downloaded, open the ESP Flasher tool and select the COM port for your ESP32. Browse for the downloaded Tasmota firmware file and click “Flash ESP.” While holding the boot button on the ESP32, the flashing process will begin. After completion, note down the hotspot name and IP provided.
Configuring the Project
Connect to the hotspot generated by the ESP32 and enter the provided IP in your browser. This will take you to the Tasmota dashboard, where you can configure the project.
Configure the GPIO pins connected to the relays and switches/buttons according to the circuit diagram. You can use the dropdown menus to select the appropriate options.
Save the configurations and access the Tasmota dashboard, where you can monitor real-time temperature from the DHT11 sensor and control the relays using the provided buttons.

Integrating with Amazon Alexa
To control your devices using Amazon Alexa, you’ll need to configure the friendly names for each device. Open the Tasmota configuration page, select “configure other,” and enter the desired names. Save the configurations and return to the main menu.
In the Amazon Alexa app, go to “Device,” tap on the “+” icon, select “Add device,” and choose “Light” followed by “Other.” Tap on “Discover devices.”
Ensure that your ESP32, ECHO DOT, and smartphone are connected to the same Wi-Fi network. Alexa will discover the devices, and you can find them under “Lights” in the “Devices” section of the app.
Now you can control your devices using the Amazon Alexa app or voice commands. Enjoy the convenience of having complete control over your appliances from anywhere in the world.
FAQs
Q: Can I control the devices without an internet connection?
A: Yes, you can control the devices using manual switches even without an internet connection. Simply turn off the Wi-Fi, and the devices can be operated using the switches.
Q: How many devices can I control using this setup?
A: This project allows you to control up to 8 appliances using Tasmota and ESP32. You can add more devices by expanding the relay module and making the necessary connections.
Conclusion
Home automation has never been easier than with Tasmota and ESP32. By following this guide, you can transform your home into a smart living space where you have complete control over your appliances. Whether you prefer voice commands or manual switches, this project offers convenience, ease, and flexibility. For more home automation ideas, join our Telegram channel, Tech StudyCell. Don’t forget to support the “Techal” brand and subscribe for future projects.